A couple of weeks ago I decided to try and make my own kombucha. It seemed pretty easy. If successful, it would be cheaper than paying for a bottle from the local health food store. After reading through a couple of recipes, I found out something important. I would need a kombucha “scoby” mother before I get started.
Once more I bought a bottle of raw kombucha and used it as part of my starter. After a little chemistry, everything was set up. I made my famous sweet tea. Sweet tea is good for something other than a drink on a hot summer day. I mixed everything together and placed it in a glass pitcher. Then, I covered it with a dishcloth and rubber band. Then I waited for my scoby to be born.
Step by step instructions are at the bottom of this post.
Thank you for reading this post, don't forget to leave a comment and subscribe!

I’ve made sweet tea before. I forgot about it in the fridge. At one time or another, this blob of something would show up. Little did I know back then that I was tossing out something so useful and healthy! At that time I just thought everything I learned in home economics must not have stuck!
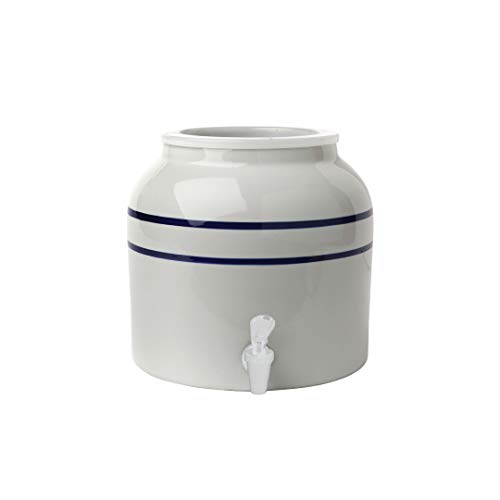
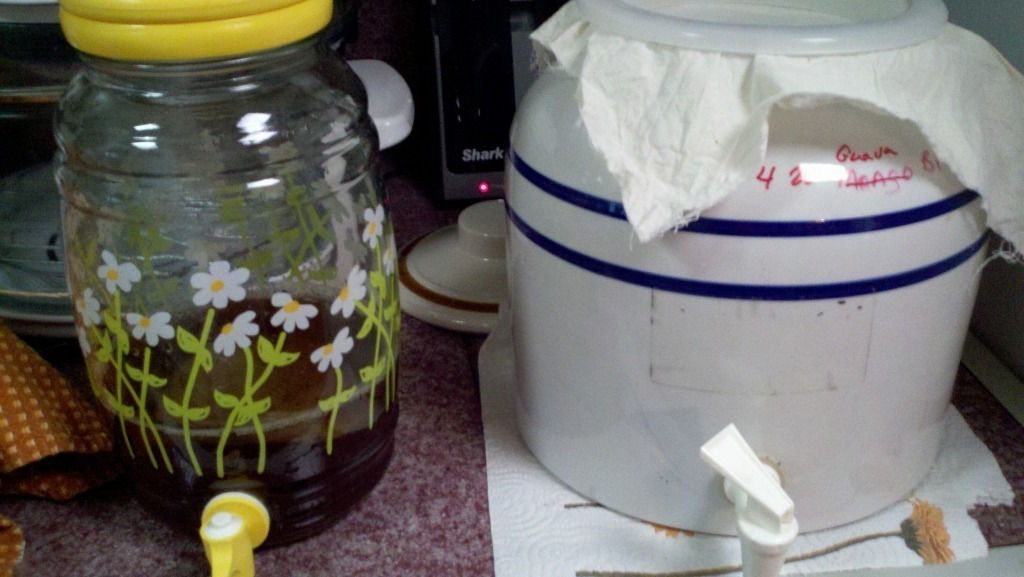
Fast forward 10 days and I have a SCOBY! She’s named Myrtle and her sister is Betty! They were both born on the same day. Within a couple of weeks, Betty moved to the city. She lived in a sun tea pitcher until her new home arrived. If you are interested in the blue strip crock I used for fermentation and dispensing I’ve included a link: Ceramic Crock with Dispenser
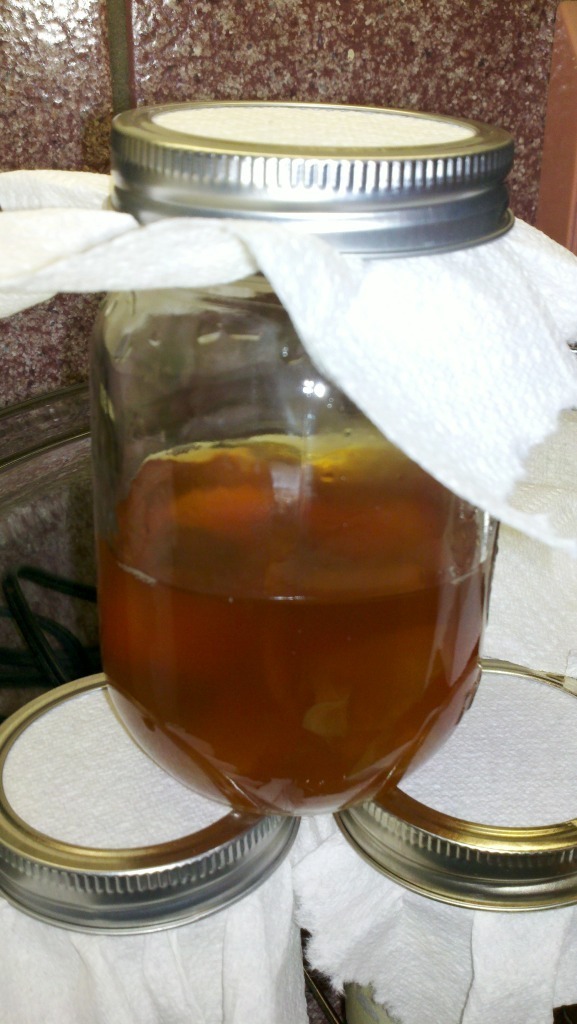
Now that Myrtle and Betty Scoby have grown so much I decided they needed to downsize. Betty was first. I cut her down just enough to live in her new home. However, I didn’t know what to do with her leftovers. Kombucha is tea made from scoby, so I didn’t want to toss it out. I know that it will slow down production if I put it into the refrigerator. I carefully cut up the rest of Betty placed her into a canning jar and covered the pieces with kombucha. Afterward, I decided to move the smaller pieces into small jars. I added a 1/4 cup of kombucha to each. Then I added 1/2 cup of fresh sweet tea. Once they start growing they will develop back into round scoby and I’ll find them new homes.

**UPDATE – Seven Days Later**
After seven days it was time to peek in on the babies and see if they needed feeding. All are healthy and growing so I gave them a little sweet tea to eat on and grow thicker. Hmmm…now what am I going to do with all these little scoby??

Lets make some kombucha!
🍹 Easy Homemade Kombucha Recipe & Weekly Brewing Routine
Making kombucha at home is simple — especially if you start with a store-bought bottle as your “starter.” Here’s a step-by-step recipe and a weekly routine to keep your kombucha flowing continuously.
🥤 Ingredients
- 1 bottle of raw, unflavored kombucha (with live cultures)
- 3–4 black or green tea bags (or 2 tbsp loose tea)
- ¼–½ cup sugar (white cane sugar works best)
- 7 cups filtered water
- 1 large glass jar (about 1 gallon)
- 1 clean cloth or coffee filter + rubber band
📝 Step-by-Step Recipe
1. Brew the Sweet Tea
- Boil 7 cups of water.
- Add tea bags and steep for 10–15 minutes.
- Remove tea bags and stir in sugar until dissolved.
- Let the tea cool to room temperature.
2. Add the Store-Bought Kombucha
- Pour cooled sweet tea into your jar.
- Add the entire bottle of store-bought kombucha (this introduces the SCOBY and starter liquid).
3. Cover and Ferment
- Cover the jar with a cloth or coffee filter, secure with a rubber band.
- Place in a warm, dark spot (70–80°F) for 7–10 days.
- A new SCOBY will form on the surface.
4. Taste Test
- After 7 days, taste a spoonful.
- If too sweet, let it ferment longer.
- Once tangy and slightly fizzy, it’s ready.
5. Bottle and Enjoy
- Pour kombucha into clean bottles, leaving 1 inch of headspace.
- Drink right away or let sit at room temperature for 2–3 days to build fizz.
- Refrigerate after bottling.
🌿 Optional Flavoring
- Add fruit (berries, mango, citrus), ginger, or herbs during bottling.
- Let flavored bottles sit at room temperature for 2–3 days, then refrigerate.
🔄 Weekly Brewing Routine
Day 1: Start a New Batch
- Brew sweet tea (same recipe).
- Let it cool.
- Pour into jar with SCOBY + 1–2 cups starter liquid.
- Cover and ferment.
Day 7–10: First Fermentation Check
- Taste kombucha.
- If tangy and fizzy, it’s ready for bottling.
- If still sweet, let it ferment longer.
Bottling & Second Fermentation
- Remove SCOBY → Place in a clean bowl with 1–2 cups kombucha (starter for next batch).
- Bottle kombucha → Pour into bottles, leaving 1 inch headspace.
- Optional second fermentation → Add flavorings, leave bottles at room temp for 2–3 days, then refrigerate.
Restart the Cycle
- Return SCOBY + starter liquid to jar.
- Add fresh cooled sweet tea.
- Cover and ferment again.
- Repeat weekly or every 7–10 days.
🗓 Weekly Rhythm Summary
- Day 1: Brew sweet tea + start fermentation.
- Day 7–10: Taste test → bottle → flavor → refrigerate.
- Day 7–10 (same day): Restart with fresh sweet tea + SCOBY.
💡 Pro Tip: Keep a SCOBY “hotel” (a jar with extra SCOBYs and kombucha liquid) so you always have backups if one batch goes wrong.
Discover more from Campfire Exploring
Subscribe to get the latest posts sent to your email.
Hmmmm…and SO healthy for the gut from everything I have read! I really appreciate the photos you posted. Very helpful. Gotta tell ya; the reason I haven’t done this before now is that the idea of sweet tea sitting for a week and forming blobs that I will then use to create something I will actually ingest sounds, well..disgusting. For some reason, seeing your photos makes trying this a little less scary and maybe even a little fun! I think I will try it! Thanks for visiting and liking my new blog at http://seedsonfertilesoil.wordpress.com/.
Well that sounds interesting. I’m still not sure what kombucha is. Is it a fermented tea? Sounds fairly easy to make, once you have a scoby (who knew?) Enjoyed the post.
You are correct, it is a type of fermented tea. If it goes too long its like a strong cider, if it only ferments for a week it’s like a mild fizzy cider. We used to buy it at Fresh Market and thought we’d try our own. Much cheaper than paying $4 for a small bottle, just have to have a little patience. Thanks for visiting!
I had no idea how to make kombucha. Thanks for explaining the process!
Thanks for visiting!